Wednesday, May 30, 2012

Civil War Quilt-A-Long

I finished my quilt for the Civil War Quilt-a-long.   What a lot of fun this one was to make.  It consists of twenty 4 1/2" squares with a 2 1/4 inch sashing.

After my blocks were made, I made my strips of sashing.  I liked the deep pink reproduction fabric.  It seemed to set all of the blocks off.    


I added a piece to each block, then sewed them together and laid them all out onto the table.  When I liked the placement, I started sewing them together.


Then came the sashing for in between the rows.


They were small, and so neat to work with.


I also added a brown printed boarder.  Then machine quilted in an all over stipple stitch.  Put my binding on and WAH LAH!!   My Civil War quilt is now completed.  


Total size:    37" X 43"

I am now collecting blocks from all the other quilters in our quilt-a-long.  Can't wait to see what all I will get, it is like Christmas opening up the envelopes in the mail.  When I get them all, I am making another quilt.  What fun!!

HAPPY QUILTING EVERYONE.............


Check my website gallery for more selections: http://janesquilting.com

Friday, May 25, 2012

Civil War Quilt-A-Long

Check out my Civil War Quilt so far.  I am doing the quilt called "Alexander Bean Pot".  It is using a common block called  "Kitty Corner" or also known as "Broken Wheel".  

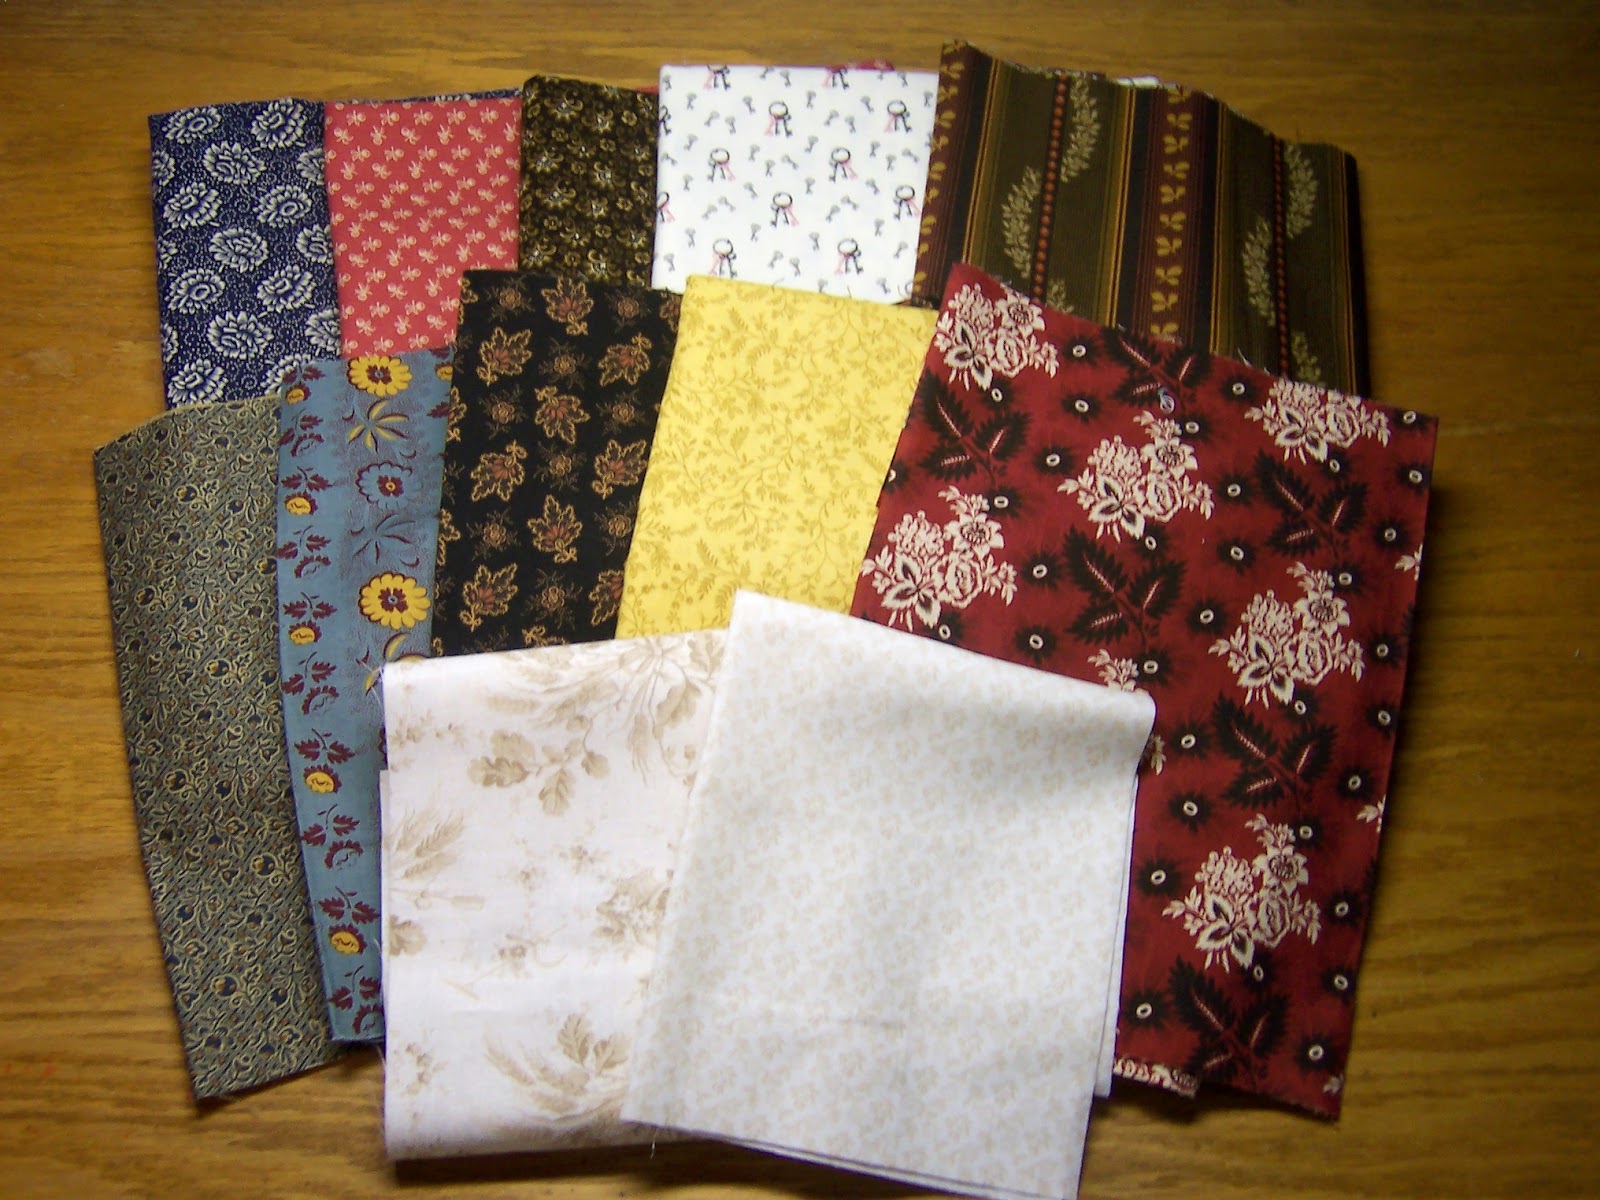
I got some really neat fabric on-line at a few different shops.  I am using all but one.  Just did not quite go with the rest.  (my opinion anyway)


I cut out all my blocks and stacked them up ready to sew, then cut my strips for the sashing and boarder.


The blocks are 4 1/2" square and there are 20 of them.  Most of them are made up of one color, but I did do some variation with a few.


It is really a neat block to make and the sashing, well, it is only 2 1/4" wide.  Made of 9 patch in each corner.


This quilt is so much fun to make......When I get the binding sewn on, I m going to make another out of  the book, only add my own twist to it.

Back to sewing,

HAPPY QUILTING EVERYONE.......HAVE A GREAT DAY!!


Check my website gallery for more selections: http://janesquilting.com

Monday, May 14, 2012

Civil War Quilt-A-Long

HERE WE GO........ Today 11 other quilters and myself are starting our Civil War Quilt-A-Long,

Each of us have picked a quilt out of "Civil War Legacies"  by Carol Hopkins.


This is a GREAT book and we found that it is very hard to pick just one.

We are also making a second quilt.  Each of us are making an block from the quilt that they are making and I will be putting them all together to make another quilt.  WOW!!  It will be a special quilt made by all of us!!

Each Friday, we will be posting on our progress of our quilts.  So please, join each of our blog,s for you won't want to miss any of them.

Oh, did I mention the Give-A-ways.....through out our Quilt-a-long, we will be having some really  GREAT Give-A-Ways.  So you will want to keep close watch.


                                CIVIL WAR QUILT ALONG   2012


HAPPY QUILTING EVERYONE.........


Check my website gallery for more selections: http://janesquilting.com
Sunday, May 6, 2012

Full of Flowers Scrap Quilt

Look, a mix of Sweet Grass triangles!  This quilt is made from 20 fat quarters purchased from Connecting Threads, Sweet Grass Prairie Collection.  (There are a lot of different flowers in these prints)


Again I used only two blocks, the Twelve Triangles block and a Variable Star block.  BUT this time I decided not ot have a boarder, instead make it look like I just cut the quilt and added binding.  In other words, I started with a row of half blocks, then each row after that I started with a half block.  The last row was another row of half blocks.  There is no boarder.

I drew my blocks and half blocks, then figured out my fabric, to make the quilt as large as I could with the 20 fat quarters.   Then I spent most all of a day just figuring and cutting all my pieces out.


Next was to start sewing my blocks together and trying not to have two of the same fabrics together.  (That sounds easier than it is)  I also figured in the light and dark prints using them strategically to set the triangles off.


When they were all made, I laid the blocks out mixing the prints up as much as I could.  Then sewed them al together, trying to keep them all in the order that I placed them.   When all the blocks were sewn together, I machine quilted an all over flowers and leaf design and sewed the binding on by hand using the blind hem stitch.


The total size of the quilt is:   6 ½” X 63 ½”      I thought this turned out pretty good.  Couldn't you find the perfect spot to show this quilt off??  (You can find it for sale on my site)

Enough of writing……I am heading back to my room to sew……

HAPPY QUILTING………HAVE A GREAT DAY


Check my website gallery for more selections: http://janesquilting.com

Saturday, April 28, 2012

Painting Rocks

OK, it is Spring for sure,  the weather is getting warmer each day and everything is sooo green and fresh, the birds are singing.  It is time to freshen up my part.  I like to add different items to my flower beds to help set them off.  I have a variety of ceramics, and rocks (yes rocks).  So in the spring I spot paint to freshen them up and make them look good.  This year I found two new flat rocks to add to my one bed.


To paint these rocks I will need:

  Paint
Brushes
Water (to clean my brushes)
Cleaner  (to clean rocks)
  Spray Polyurethane
My 2 flat rocks (of course)


First I scrub my rocks with a good cleaner.  This will ensure that the paint will stick to the rock.  Then I pick a base color to pain the whole rock.  With these rocks I made one white, and the other light pink.  Also I painted the sides of the rocks to help set them off.


Then I decided what I wanted to paint on the rock.  You can do flowers, butterflies, birds, etc.  Let your imagination flow and have fun with it. 

When you are finished and happy with your design, spray with Polyurethane so they will stay fresh in the weather.    


Here is a large rock that my sister-in-law brought me from the mountains of PA, years ago when we lived in VA.  It looked so neat, that we brought it along with us when we moved to TN.


SHOES??  Yes, those are work shoes that were (at one time) my husbands.  The things you can do to spruce up your flowers beds.....why it is endless.

I now have a few more flowers to plant and I am done.  Then it is back to quilting.  Just wait till you see my Rose quilt that I am making.  It is taking a long time.....but well worth it.

HAPPY QUILTING EVERYONE....HAVE A GREAT DAY!


And don't forget to take time out to smell the roses and enjoy the day.


Check my website gallery for more selections: http://janesquilting.com

Thursday, April 19, 2012

Potholders

I am busy working on an applique quilt that it taking quite a bit of time.  So I decided to take a brake and make some "POTHOLDERS".  They are a lot of fun to make it gave me the brake from some tedious work that I am doing.

You can make them all different sizes, shapes, can get all fancy with applique and embellishments, or just use up some of those scrap squares that you have laying around.  There is no right or wrong way to make them.

Just add batting to one of your squares, quilt as desired and add the binding.


You can use regular batting for inside but make sure it is 100% cotton for shrinkage.  If your potholder is being made to be used and not just for decoration, make sure it is thick enough for heat not to penetrate through to your hands. 


Here is a picture of a few of the Potholders that I had made.  You never know when you need that quick, small gift.


 So have fun and use your imagination.  Don't forget, Mothers day is coming soon, I am sure she would love something homemade.  

Well, I am back to my large quilt.  One day away was way, to long, but it helped clear my thoughts to proceed.  

HAPPY QUILTING EVERYONE....
HOPE YOU HAVE A GREAT DAY.


Check my website gallery for more selections: http://janesquilting.com

Tuesday, April 10, 2012

Storm at Sea

I made a different quilt this time,  with (what I feel) are neat colors.  I made the pattern, 
“Storm at Sea”.

 I had seen many different versions, colors, sizes, etc.  but none of these colors.  Guess I just wanted to be different.  Actually, just wanted to use some fabrics that I already had.


Next was to decided on how big I wanted to make my quilt.  I didn’t want to go to small, but did not want to make it a large bed quilt.  So,  I got my paper out and figured how big to make my blocks and how many I would need for the size that I wanted.  I actually ended up using all my fabric, making as many blocks as I could.

Next I cut my material out and made my blocks.  For this one I needed 25 small 4 inch squares, 16 large 7 ¾ inch squares, and  60  4 X 7 ¾ inch rectangles. 


After all my blocks were made, it was time to sew them all together. I sewed one row at a time, making all my rows, then sewed the rows together.  Last, I put a 4 inch boarder all around.  

I machine quilted an all over unique Feather like design, that look like the waves in the ocean.  I felt it showed up in the material nicely and was appropriat with the name of the quilt.   


The finished size is:    58 ½” X 58 ½”

 
HAPPY QUILTING......HAVE A GREAT DAY!!


Check my website gallery for more selections: http://janesquilting.com