Thursday, June 21, 2012

Not Just Another Bag

That is right....This is not just another bag.  This is a perfect Purple bag that I had made our Beautiful Niece.

Oh, yeah, I made another bag.  This one was made specially for our niece.  Her favorite color is Purple, so I got out all my purple fabric and tried to figure out how I was going to make it.


It always takes time to pick out the fabric.  I think it is part of the fun in making things.  Got to find the perfect matches.  

I made my straps first.  Cut them 4 inches wide and made them as long as my fabric I choose allowed.  Folded them in half, added batting, sewed wrong sides together, then turned them inside out.


I sewed the straps to the front and back panels, then carefully quilted both front and backs.  (I quilted a grid pattern)


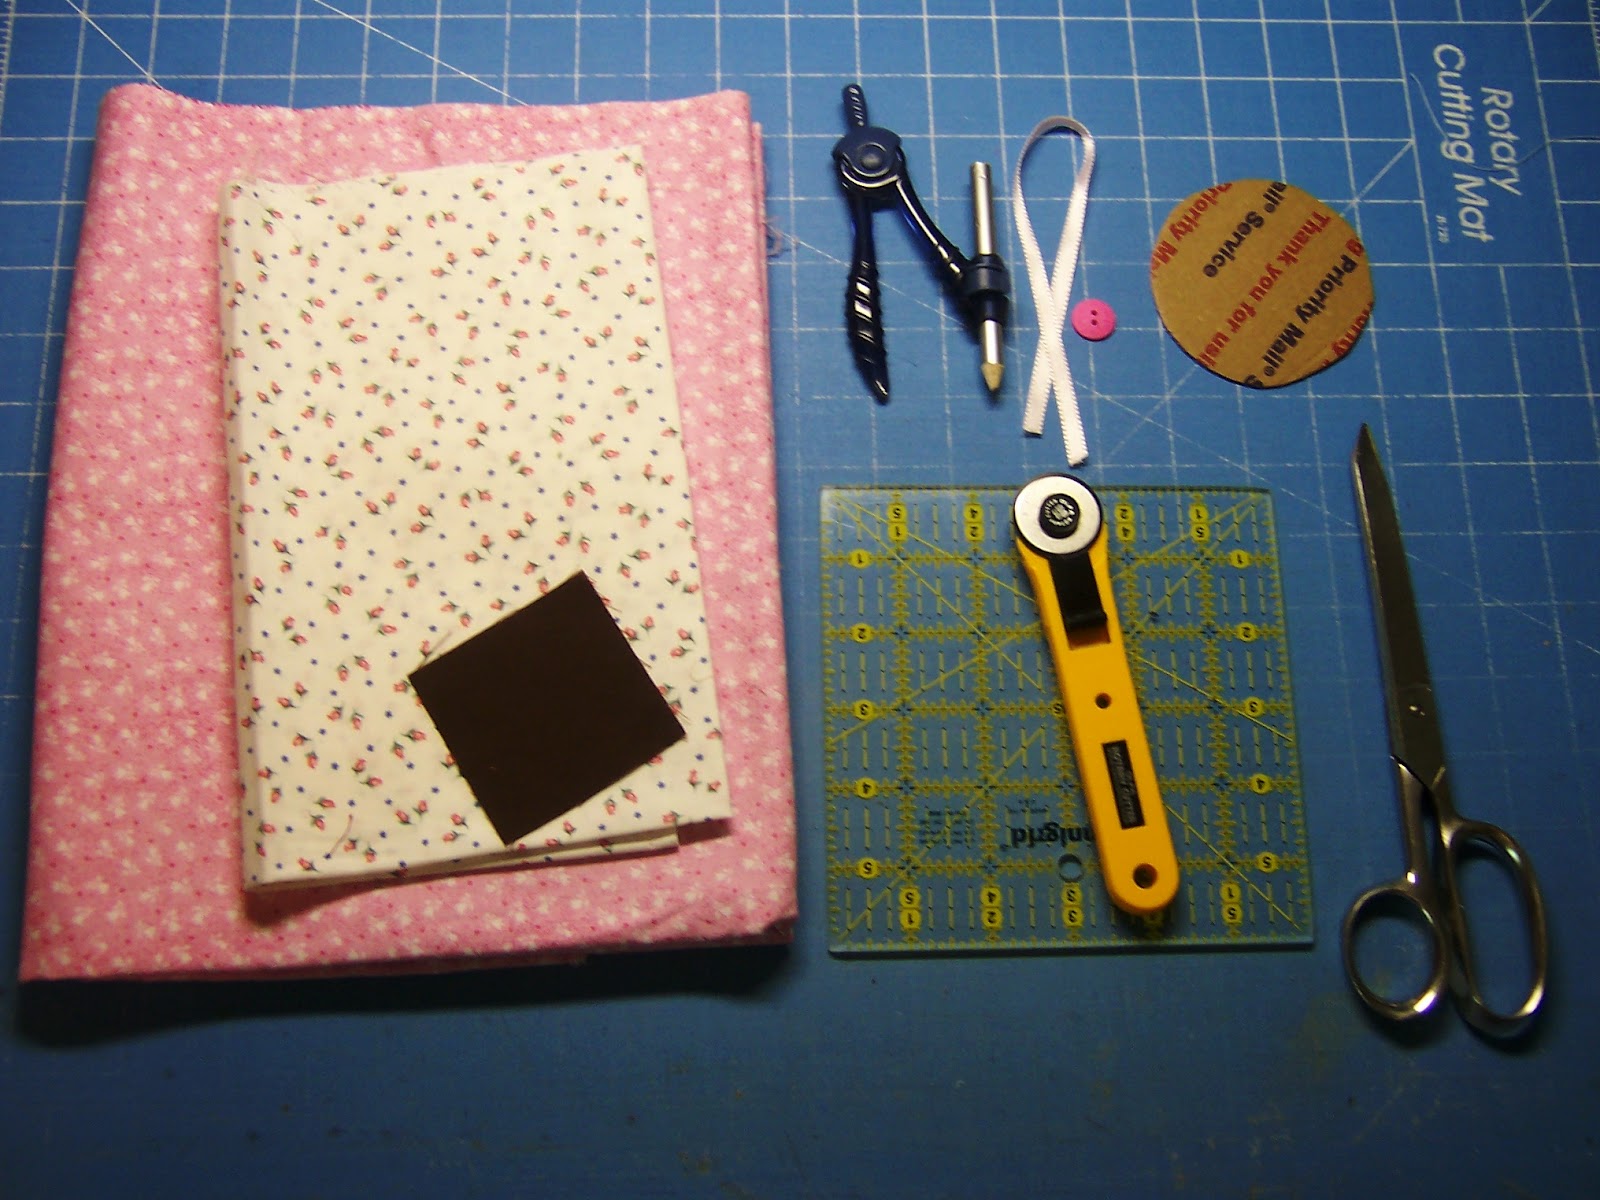
Next, I made my pocket on the outside before adding the lining.  I decided to put a heart on the pocket and a button.  When finished I added a small Velcro closure.


I sewed the front to the back then made my lining.  Oh, and I put 3 different size pockets on the inside.  

Last but not least  -  I added a binding around the top for neatness and durability.


Total finished size is:   12" X 16" X 4" .  AND  I am happy to say that our niece likes her bag.

Heading back to my room........

HAPPY QUILTING EVERYONE


Check my website gallery for more selections: http://janesquilting.com

Wednesday, June 13, 2012

Purrfect Pin Cushions

I made the Purrfect Pin Cushions today.  I seen the article in a magazine by Desiree Habicht.  They were too cute not to make.

All you need is your fabric, ruler, scissors, (Oh, and don't forget the stuffing.....)


After I gathered all that I thought I would need....I stuffed my head (ball) first.


Then my muzzle and attached it to the head (ball).


I wrapped embroider thread around and found a cute button that matched.  It had to have a nose!  Then I sewed the ears on, then eyes, and added a Pink Bow.


Isn't it cute??


BUT WAIT!!!   Why stop with just a cat!   I had to make a DOG too.


It was a nice little brake from quilting.  I have been really busy lately, but not complaining.  These little guys were a lot of fun to make and so easy too.   


OK,   Now on to my next quilt.........

HAPPY QUILTING EVERYONE........


Check my website gallery for more selections: http://janesquilting.com

Monday, June 4, 2012

Hampton's Roses

My "Hampton's Rose" quilt is completed and I am proud as to how it turned out.  It was more involved than my other quilts but was well worth it.  This one took me over a month to make.

When I first get an idea, I either grab a pencil and my notebook, where I keep my graft paper or to my lap top.  Then I start to draw and design what I want and make a rough graft.

When I decide what design I want, I draw my patterns for my applique.


I dug into my stash and hunted for the colors that I wanted for my roses.  It was almost a given that I was going with reds and pinks.  I decided to throw in some yellow  roses for variation and a blue vase to add a little pizzazz.  Using  lite, Steam a seam II, I started cutting out my pieces and arranging them onto the blocks.


That took time but was a lot of fun arranging everything as to where I wanted them.  Of course, I did not go exactly as I drew my picture, but that is ok, that is me.  I pressed them on and they are ready to applique.


As I made each block, I also embroidered on the flowers to set them off.  This I could do on my porch swing and enjoy the birds, butterflies, etc. at the same time.


I made a total of 5 bouquet blocks, and 4 each of the wreath and floating roses.  I squared them all to a 10 ½ inch squares.


Next I made my stepping stone blocks.  I picked matching fabric with just a little print.  I made 12, all measuring 10 ½ inches square. 


Next, was to work on the boarder.  I wanted to be different, so went back to drawing and came up with this:


Again, after appliquéing them on, I embroidered each flower and bud to match the quilt and to make them look more real.


The rest was easy, sewed them all together and quilted them on my machine.  I outlined all the appliqué including the boarder.  I quilted a ring of feathers in the stepping stone blocks.  Then hand sewn my binding on. 

Here is my Hampton Rose:


Total size is:   67” X 67”


Please leave a comment, I would love to hear from you and tell me what you think of my "Hampton's Rose".  

Off to my next project............

HAPPY QUILTING EVERYONE…HAVE A GREAT DAY


Check my website gallery for more selections: http://janesquilting.com